
How To Stamp In Your Planner And Bullet Journal.
This post may contain affiliate links. I only link I stand by 100% and use or have used. You never pay more and I may receive a small commission. Thank you for supporting my blog.
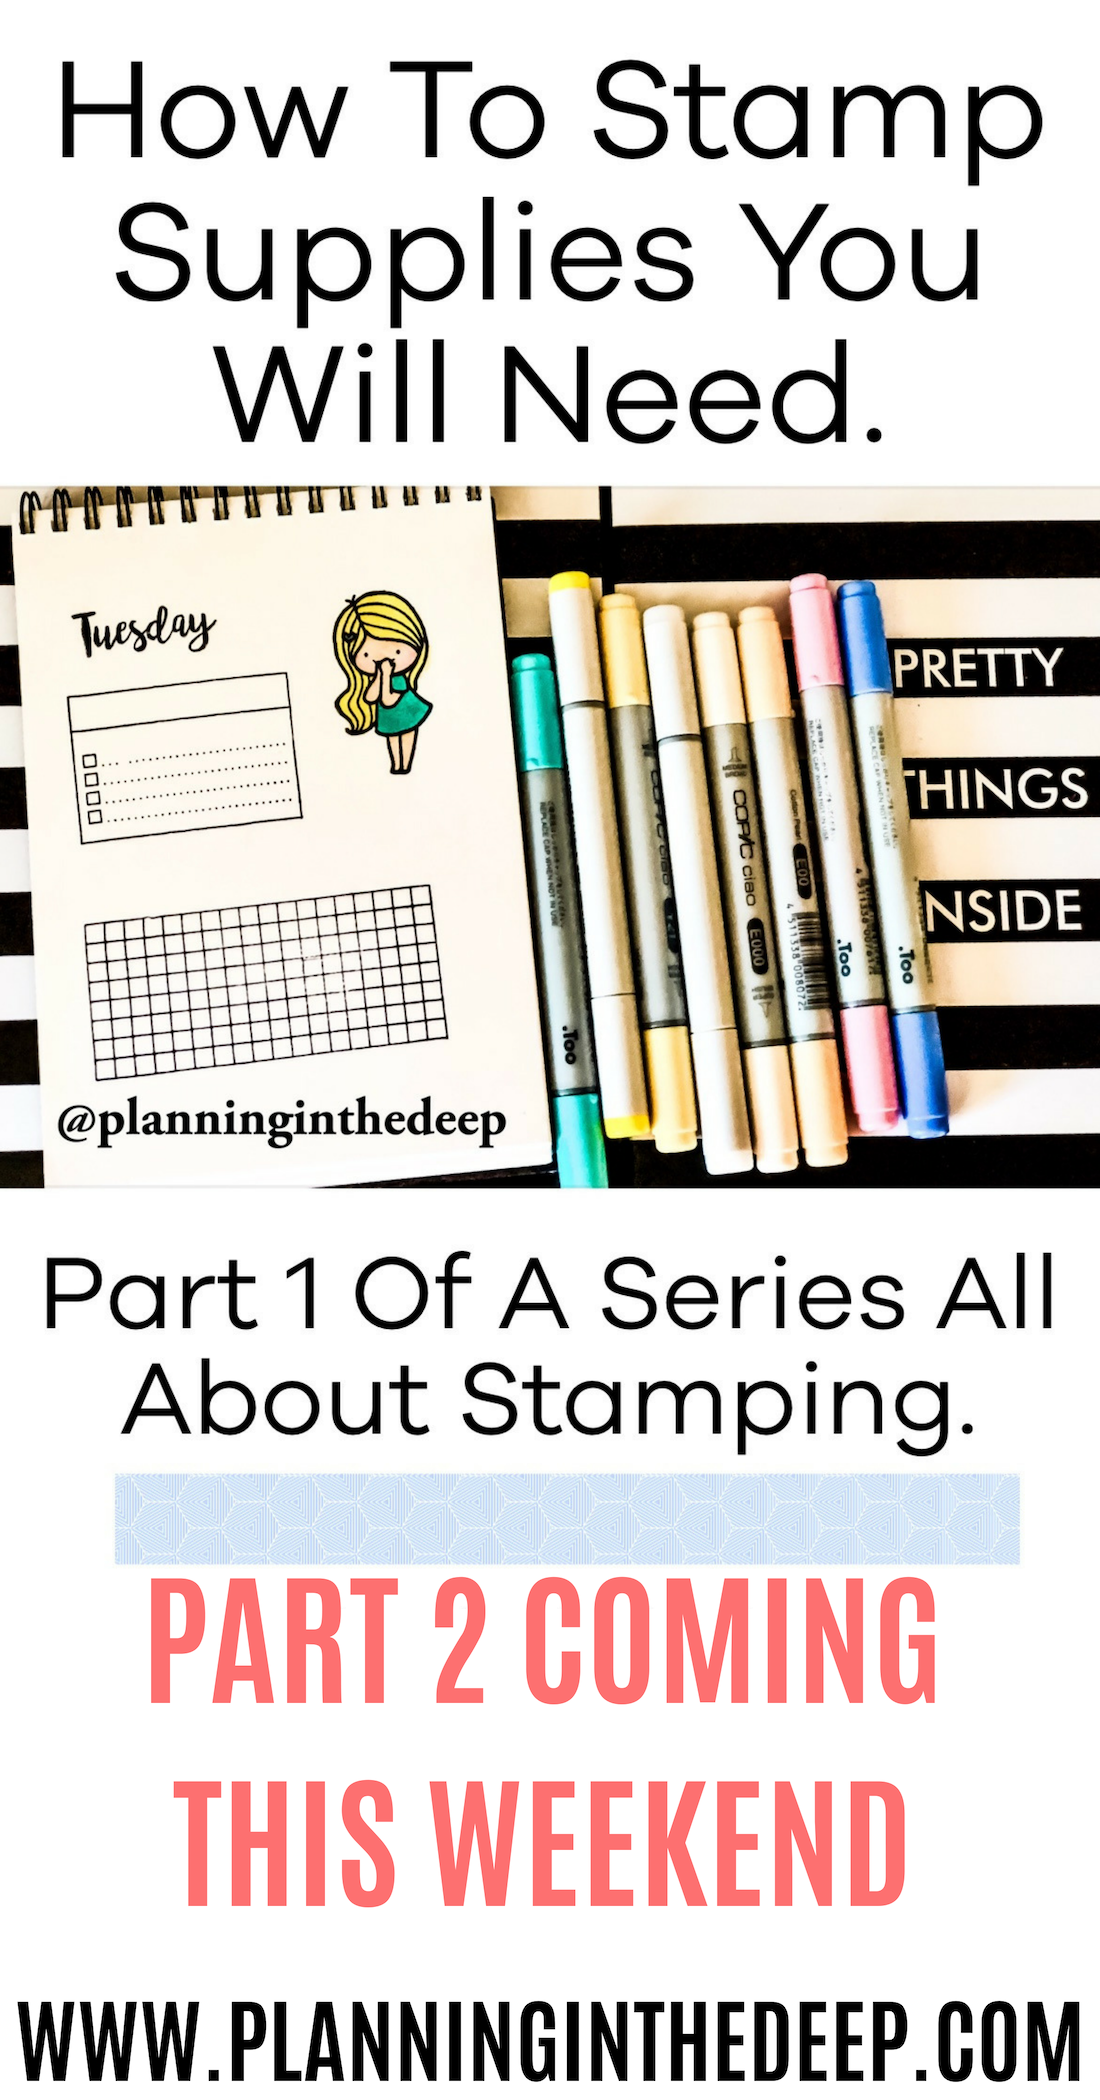
Today’s post will consist of 3 series of blog posts all about how to get started with stamping, best stamps and accessories to buy, along with the correct way to color with Copic Markers.
*In this first post we will start with the basic accessories needed to stamp.
*In the second post we will learn more about the stamping techniques.
*In the third post we will learn some techniques behind coloring and blending with Copic Markers, color shade numbers to achieve the desired skin tone effects and hair color shades you may have be struggling with.
I will have free downloads, and a video tutorial on stamping and coloring with Copics. Also, I am currently in the process of creating a Copic Color Chart to add to my free downloads so you can track all your Copic color numbers. There is a ton!
Tip...
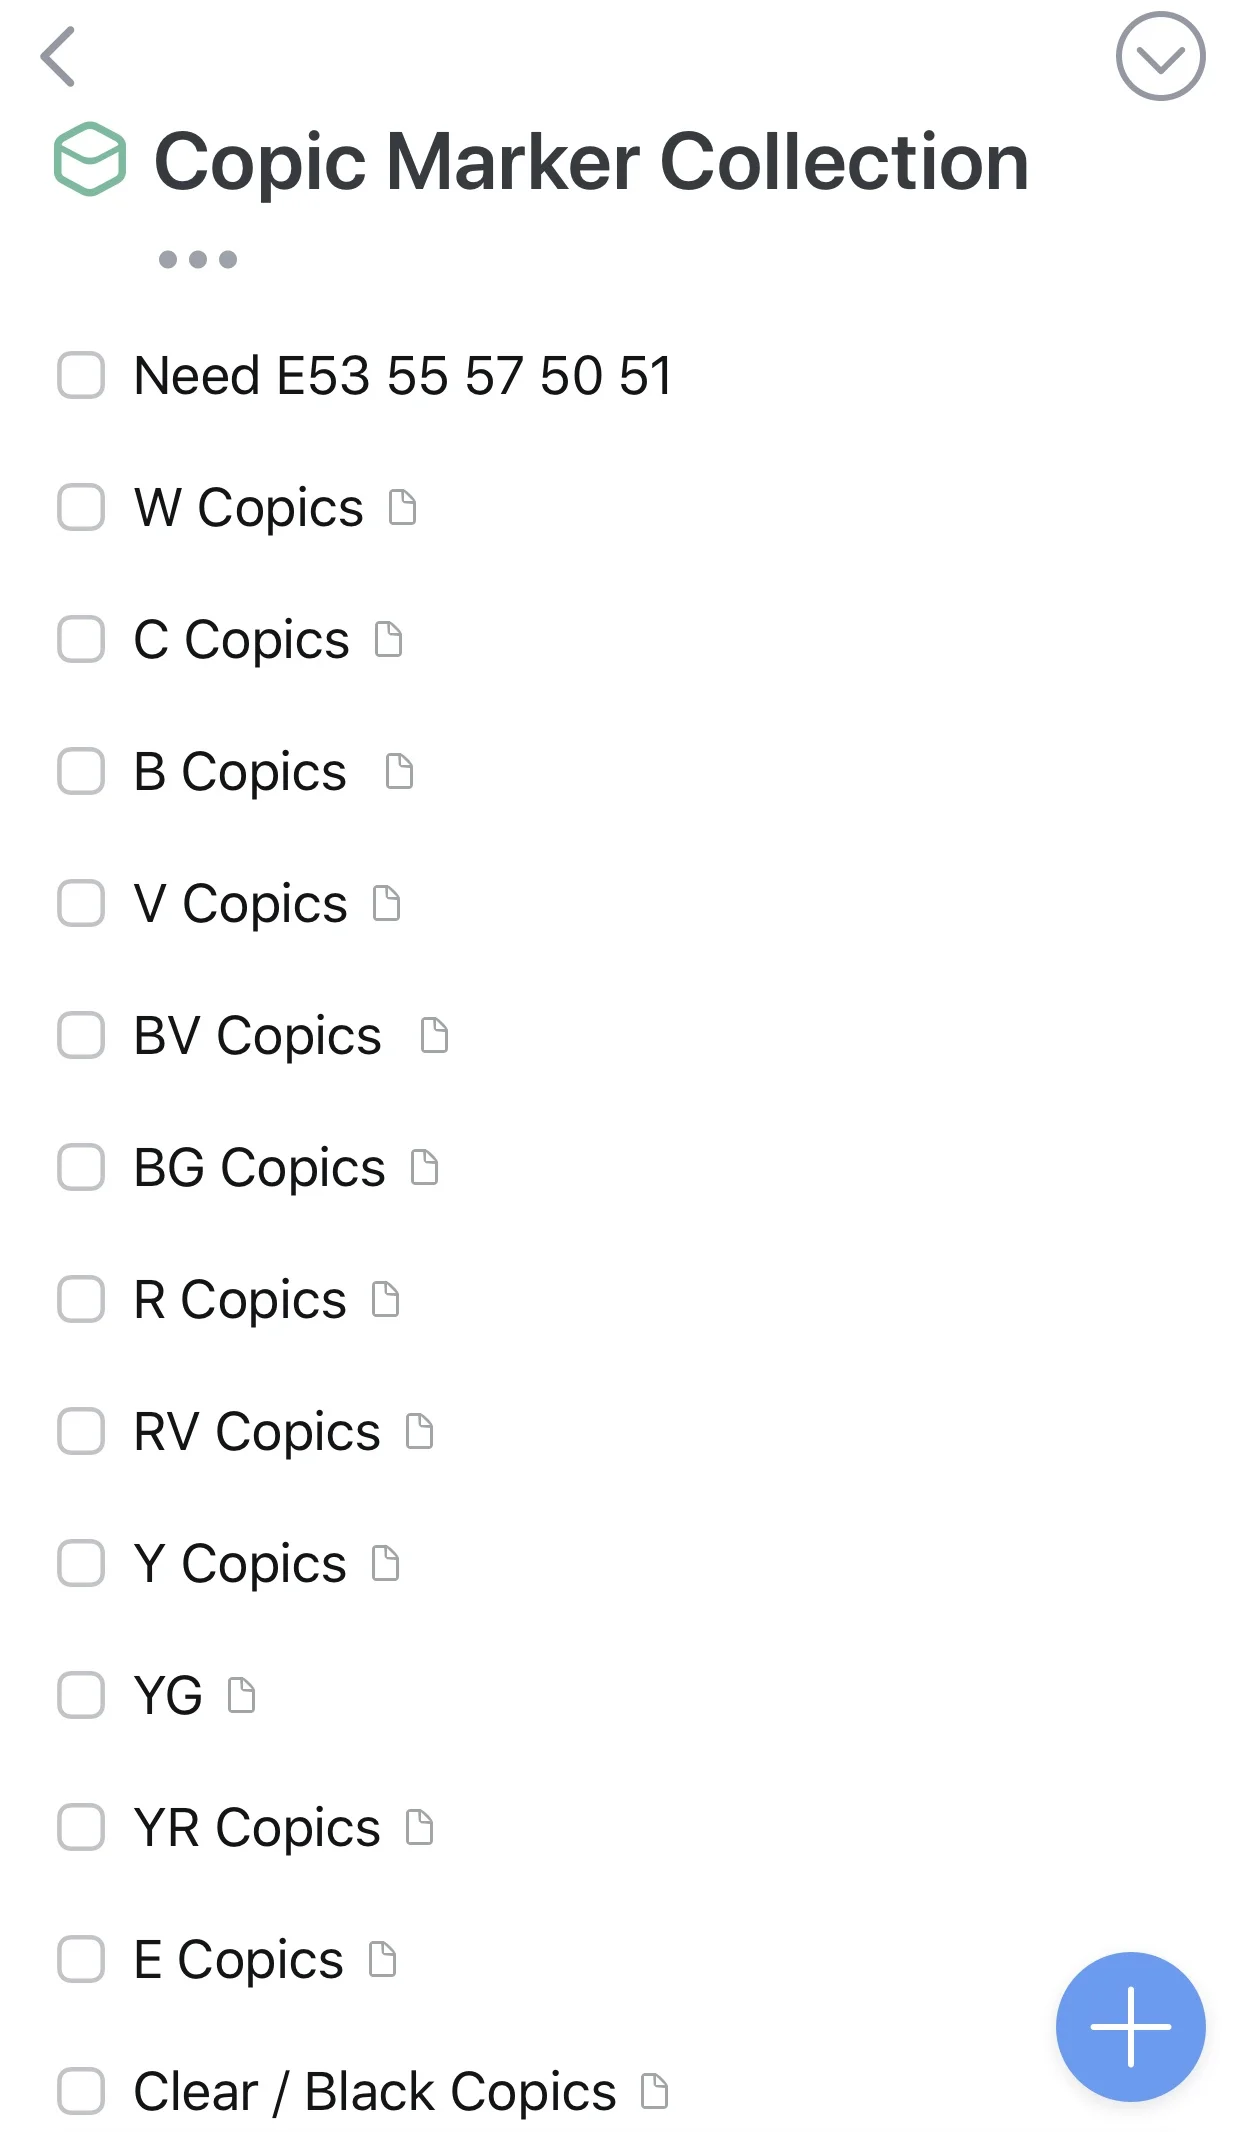
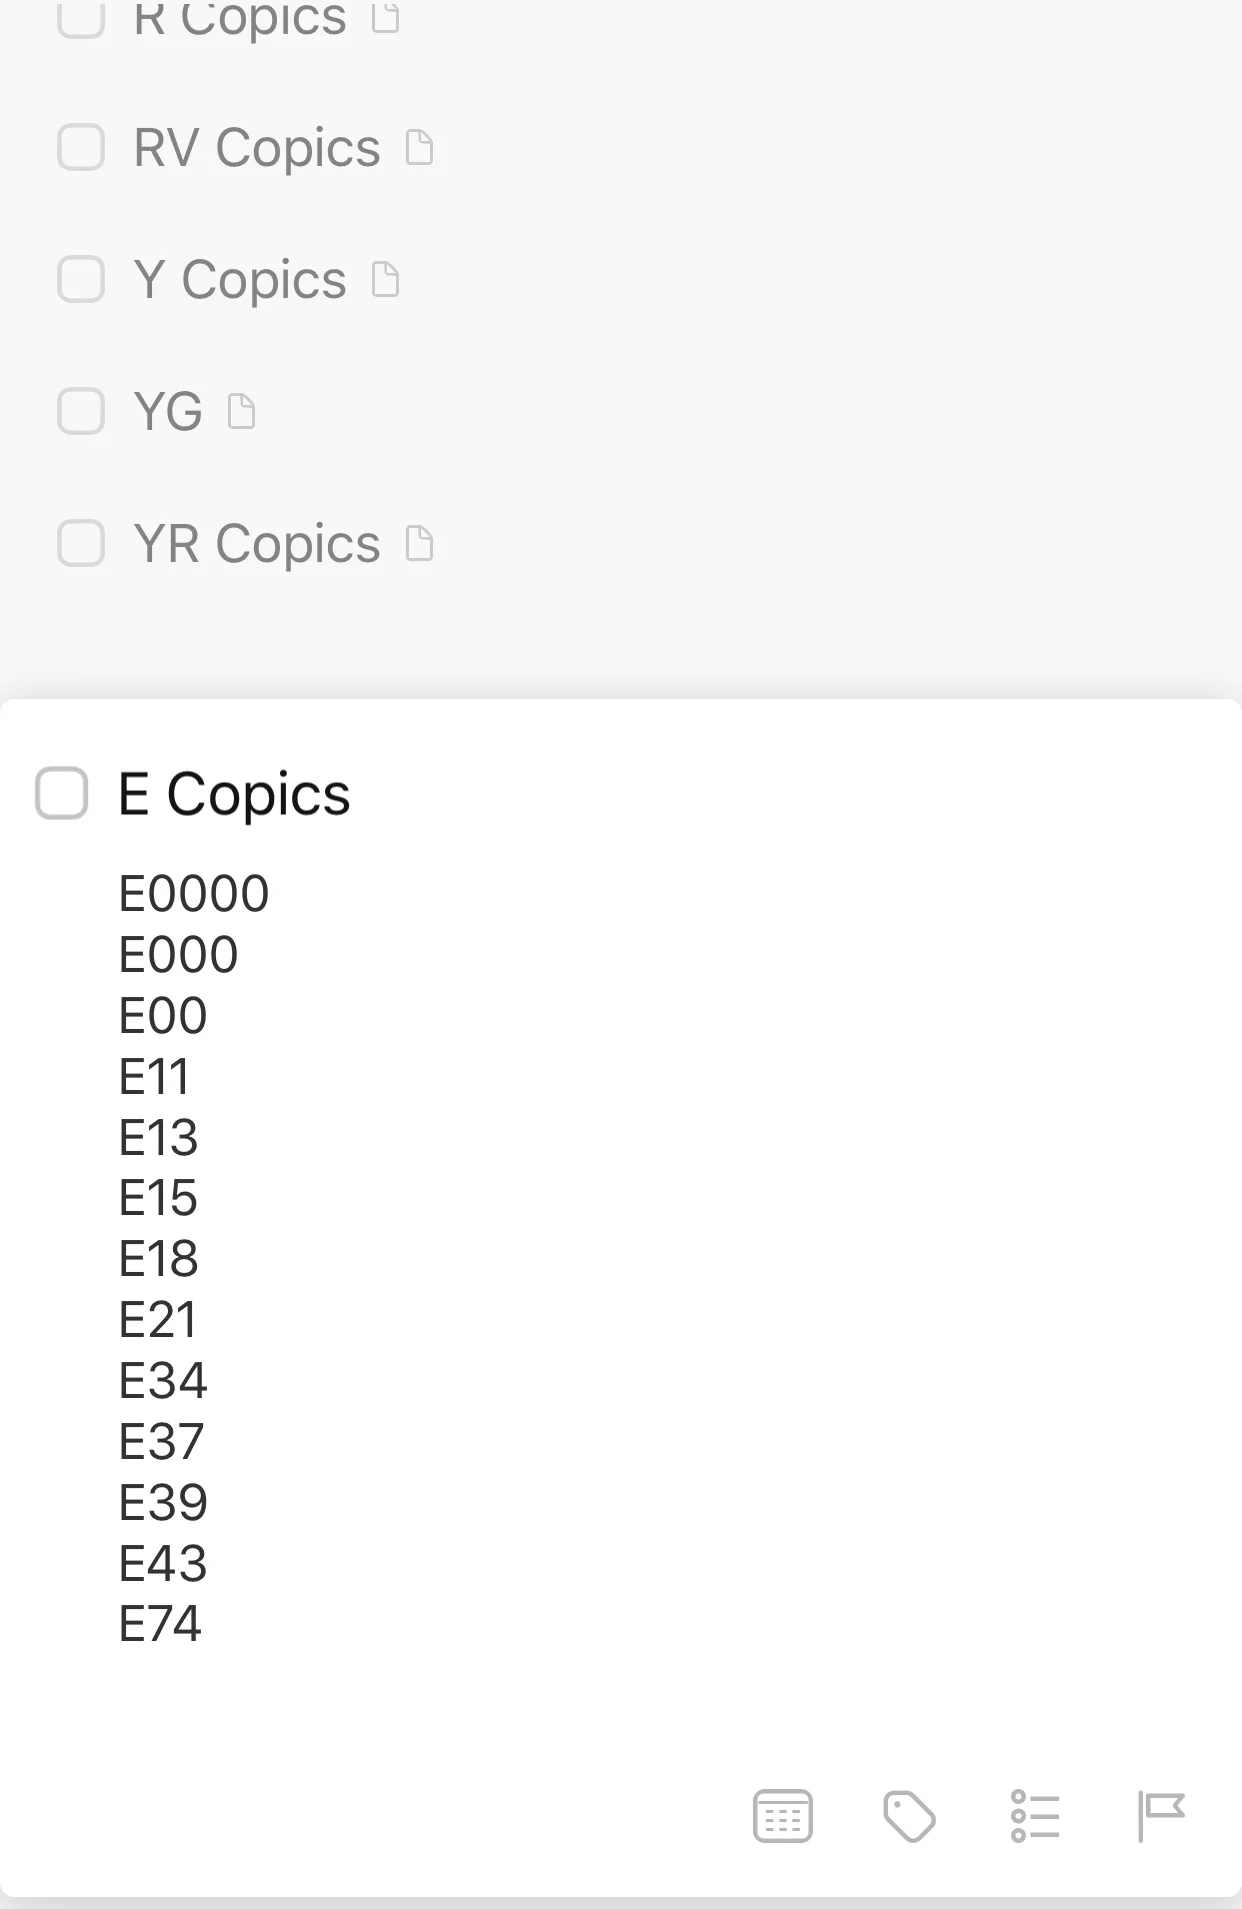
How To Store Your Copic Marker Color by Letter In Your Phone Using Things 3 For iOS:
One thing to keep in mind is keeping them stored in your phone, if you end up at Michaels on a whim, you have your color chart. You have no idea how many times I bought the same color 2, even 3 times. Copics are expensive! I list mine by letter group. When I click on the letter, everything comes up. (Below)
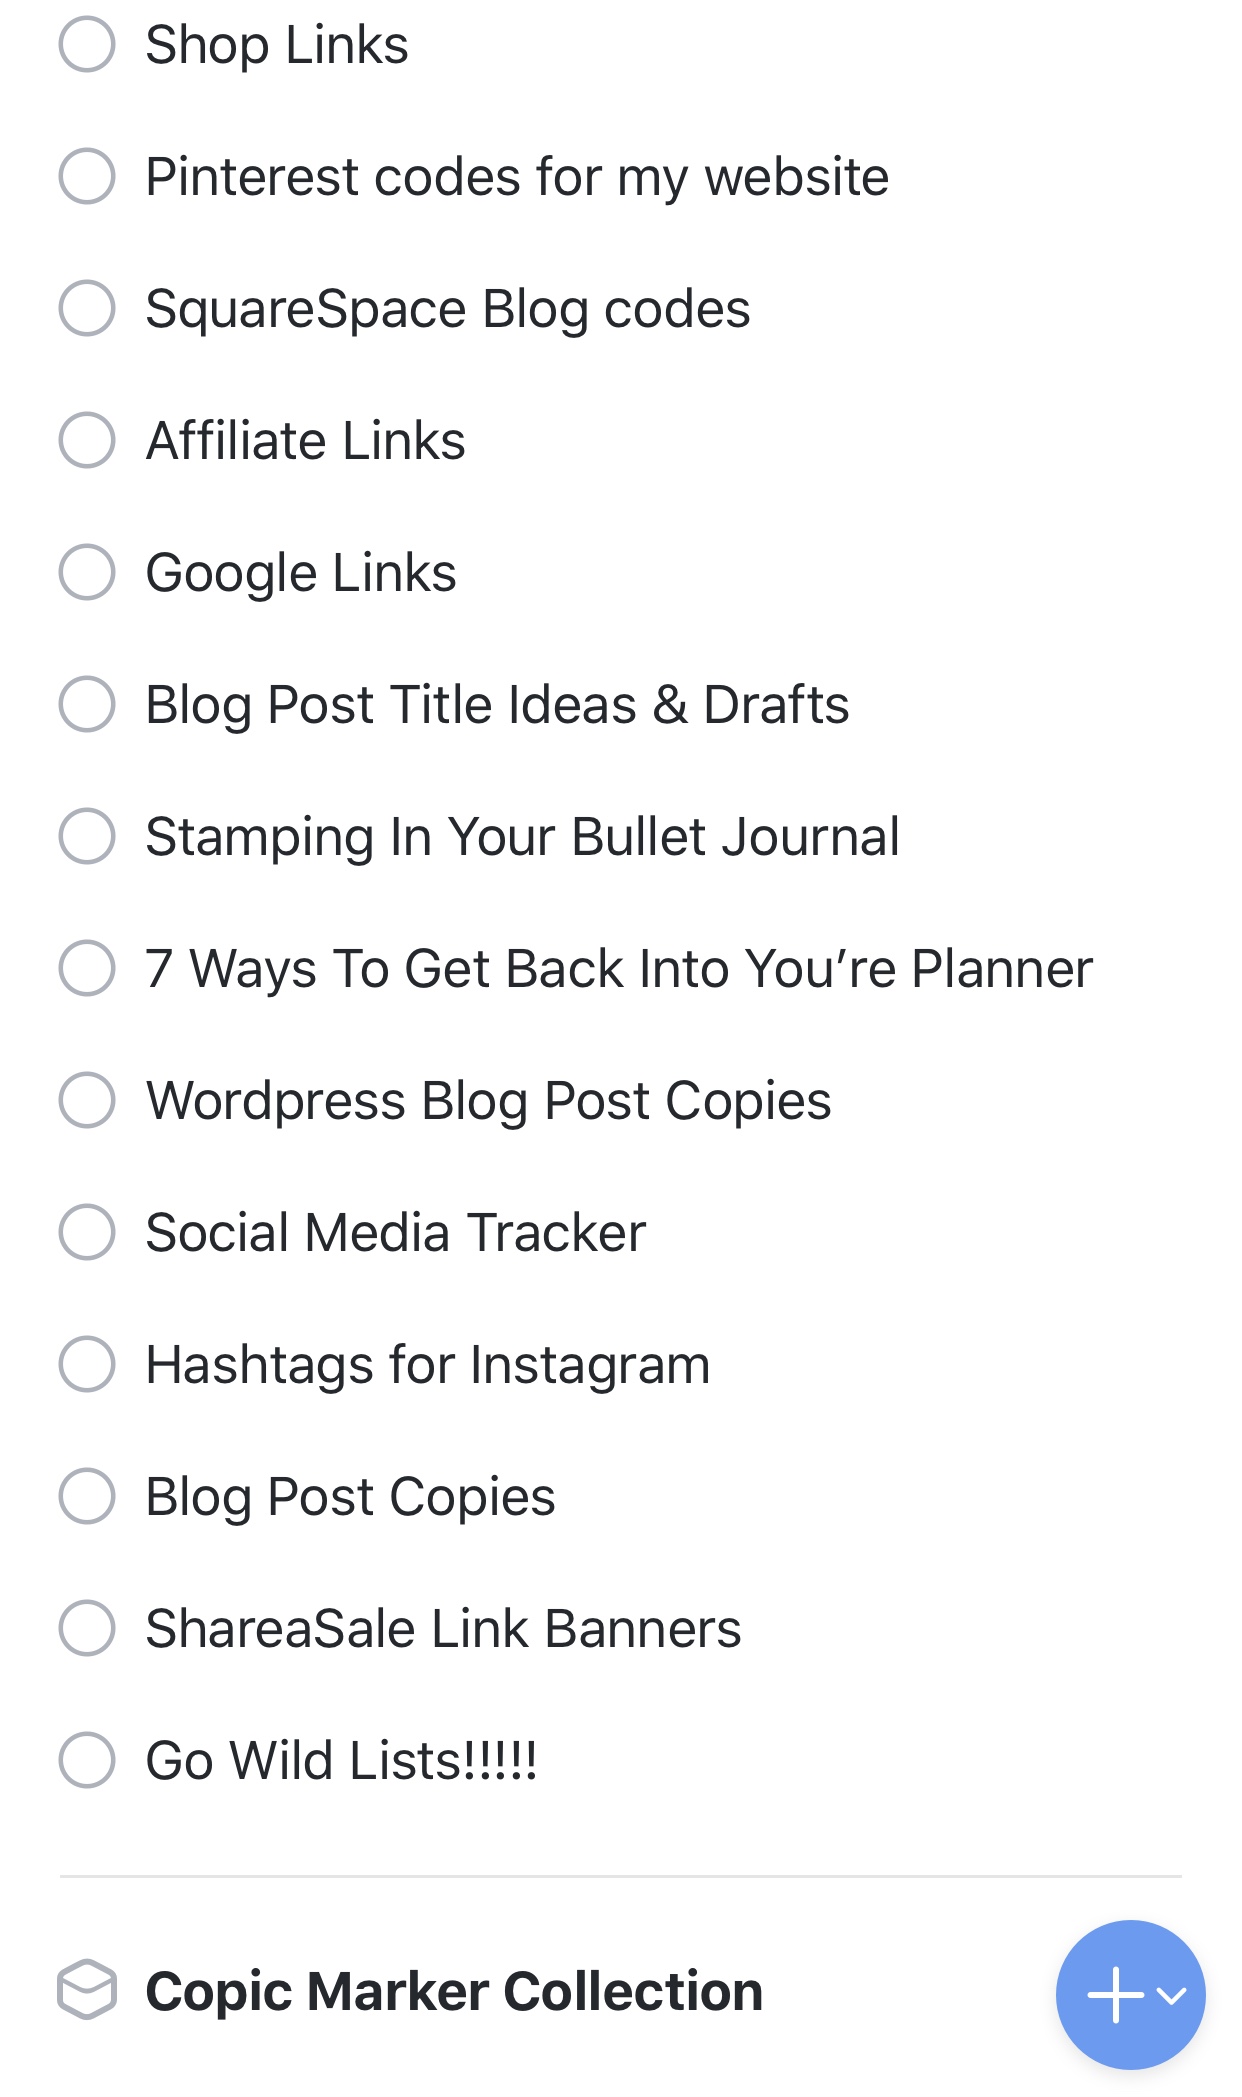

Things 3 is similar to Trello, though much simpler in my opinion. It costs $9.99 but is a one time purchase, Trello you pay monthly. As you can see I use it for everything. The best part is adding Projects then To-dos within that project.Well worth the $
Blog Post 1 Of 3:
How To Begin Stamping, The Basics For Getting Started.
It took me three years of research along with a lot of trial and error to get to where I am now. In this series I will begin with the basics and accessories that are needed to stamp, ending with blending techniques and color shades for coloring with Copic Markers.
I will be guiding you through this process slowly to avoid overwhelm. God only knows the amount of money, time and effort I wasted over the years trying different techniques out to mostly fail. Stamping is not easy at first, but with practice it does get much easier, I promise.
Are you ready? Let’s begin!
*If you’re interested in stamping with a bullet journal, check out this post Here !
📚 5 Main Supplies You Will Need To Begin Stamping.
1- Clear Stamps Of Your Choice.
There are many options when it comes to clear stamps. It basically depends on the amount you want to pay vs the quality of the stamp. I’ve found that the cheaper stamps “per say” do not hold ink as well as the better quality clear stamps. You can find good options at Michael’s such as the Happy Planner Brand, Jane Development and one of my favorites, the Recollections graphing stamp set.
These stamps range from 9 to 12$ per sheet. All though they hold the ink, they don’t come close to the ones I am about to mention. I have heard priming your stamp which is basically gently going over the stamp with a nail file all though I never had to do that with the ones I about to list next.
My favorite online shops that sell clear stamps are available from Love Cynthia and Sweet Stamp Shop. They range anywhere from 7$ to 16$ depending on the size of the sheet and the amount of stamps the sheet consists of. These clear photopolymer stamps are high quality stamps and absorbe the ink like a sponge. You will get a nice dark stamp image with these stamps and will not see the ink as almost runny ( if you get what I’m saying) like you do with your cheaper stamps.
I have personally ordered many times from Love Cynthia and her Happy Girls are my all time favorite. Not only are these stamps super cute, you can get any theme you are looking for such as planner stamps, household, girl boss, crafty, travel, family and much more. Check out Love Cynthia to see her enormous variety. On top of stamps, she carries adorable washi tape and Stencils for every planner out there.
The same goes for Sweet Stamp Shop, her stamps range from functional to adorable and come in mini sheets to larger sheets. Sweet Stamp Shop also sells wonderful stamp pads, accessories, ink to refill your pad along with acrylic blocks. And like Love Cynthia, her stamps are high quality. Check out Sweet Stamp Shop Here.
2- Permanent Pigment Dye-Ink.
This is super important depending on whether or not you are planning to color in your stamp art with alcohol markers such as Copics. The Momento Dye-Ink is the best I came across so far, I’ve had the best success with this stamp pad when coloring in my work.
You will not have your image smear like some of the other stamp pads out there. This stamp pad is truly permanent and does not smear your stamp image what so ever. Other people swear by Versa Mark Stamp Pads and Staz-On, though they are great options, I have found better luck using Momento.
3- A Variety Of Clear Stamping Blocks.
The blocks I use and prefer are made by Fiskers. Not only are they easy to use, they are super easy to line up being these particular acrylic stamp blocks have a white graph imprint.
I have the dimensions in the picture so you can get a idea of the difference in sizes that are available. Just keep in mind that it all depends on the sizes of your stamps. You may not need a really small one, I do find however that having a variety of sizes on hand is a good idea just Incase. Usually the blocks are sold in 3-4 block packs with a variety of sizes.
The last thing I need to mention for anyone out there not stamping into a planner but making something such as a card, I have this large stamp pad with magnetic circles that hold your art in place. You put the clear stamp on the inside clear top and the paper on the inside bottom, with a couple magnets to keep it in place. So say you accidentally don’t Ink the entire image, your work is in place along with the stamp so you can just stamp again and again without mistakes.
4- Something To Clean Your Stamps.
Cleaning your stamps after every use is a must. Trust me on this one, I’ve cracked a few of my good stamps by not properly cleaning them. I love the Staz On and the Recollections brands, but any stamp cleaner will work. You could use the stamp cleaner with a baby wipe or just use the baby wipe alone if you do not have stamp cleaner. I usually spray or dab (depending on the tip of the cleaner) the stamp in my hand or on a paper plate with the stamp cleaner, rub it around or even use a q tip, if you have a detailed stamp, to get inside the hair and other small areas of the stamp.
5- Storage Ideas is a For Stamps & Stamping Accessories.
At the current moment, I found that one of them pretty decorative shoeboxes from Michael’s works fabulously. Over the years I’ve tried so many time consuming and expensive storage solutions to just end up using simple pretty shoe boxes. I tried laminating pouches together, sticking stamps to them and punching them into mini binders, Buying expensive 12 by 12 clear stamp sleeves that go into a expensive binder system.
I would end up frustrated and honestly hated having to put the stamps back onto the pouches. I’m lazy like that. I learned the hard way that two pretty shoeboxes look and work so much better then any other more expensive methods I’ve tried.
Wrapping up post 1 of 3:
Before I wrap up PART 1,
Here are 3 helpful tips for anyone looking to incorporate stamping and alcohol markers into their planner.
1- Stamp image first on white matte sticker paper, your copics will bleed through even the best paper. If your not coloring them, You can stamp directly into your planner.
2- Color In your stamp art with Copic alcohol markers onto the sticker paper.
3- Cut out your stamp image and stick it in your planner.
PS...The exciting part is that Erin Condren now has a whole stamping line collaborated with Amy Tangerine!!!
To Save 10$ Off Your Erin Condren Purchase You Can Do So Here. Remember create your account first then you will immediately get your coupon.
We went over exactly what you will need to begin stamping. If you are completely new to this, you can grab the accessories needed to begin.
Next series, Post 2- will talk about some of the techniques of stamping and what ink to use considering the effect you want to achieve.
Then the last post, Post 3- will be all about Copic Markers.
I will also get more into the clear stamps I use, another storage option I found and live and the coloring process to achieve amazing results with your Copic Markers.
Don’t forget to Pin & Save this post for future reference.
What do you think of stamping?
Does anything intimidate you about stamping or have you learned tricks like myself over the years?
Leave your comments down below so we can chat.
